Shutter Speed
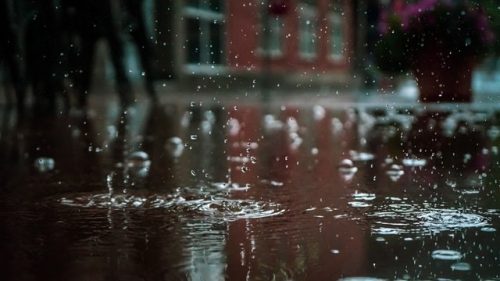
Your camera’s shutter speed greatly determines the quality of your photos. If you want to catch drops of rain water as if they’re frozen in space, then you’ll need a quicker shutter speed. Editing tools can’t help with this. As far as the shutter speed is concerned, the starting point would be 1/250 second. Anything at or below 1/125 isn’t recommended for rain photography.

Aperture
When shooting in the rain, you aren’t just capturing a particular object. Everything from the background to the droplets of water will be in focus. Avoid going for a shallower depth for the element or object in focus. As far as the aperture goes, it makes sense to begin with f/8 and higher. If you choose to go with a quicker shutter speed, then your aperture needs to increase as well. This will help you get perfect rain photos even in dim-lighting conditions.

ISO
Most of the digital cameras from Beachcamera.com come with the ISO Sensitivity Auto Control feature. For example, Nikon’s latest models have this auto ISO feature and it even makes it possible to set a maximum and minimum limit to how high that can get. Also, it allows you to use a preset shutter speed when taking photos. Whether it is drizzling or pouring rain, the ideal value for freezing droplets will be ISO 1600 and higher. But make sure not to go too high because the more you raise the ISO, the more image noise. Set your ISO and shutter speed according to the composition and mood that you expect out of your photos.

Any focal length of over 50mm is good for enhanced magnification. Keep this in mind and take photos so that you can compare the blur and determine what you want.
Flash
When shooting in dim natural settings, you’ll definitely want to use flash often. But, if what you want is a blurry effect, you don’t need to use the flash at all.
Prefer a Darker Background
When it comes to rain photography, it’s good to shoot with darker backgrounds. It adds to the mood of your image, which is the biggest advantage of capturing images in the rain.
Experiment with Lighting
By lighting, we mean the one that comes from the back or side, not the lighting that is in front of you. Try experimenting a bit with artificial lighting from Beachcamera.com.
Understanding how to get the most out of shooting in the rain will definitely help take your photography skills to the next level.


