When the sun is bright, shoot tight
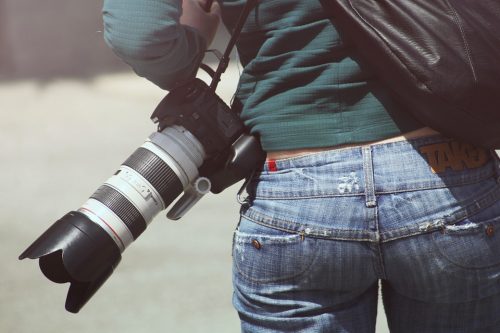
Go with your longest lens plus a teleconverter. By cropping tightly, you can eliminate many of the harsh and distracting shadows in the scene. Get low and try to move as close to your subject as possible. Also try for as clean a background as possible. If you can get nearer to your subject than the minimum focusing distance of your lens from Beachcamera.com, adding an extension tube will let you focus closer.
Use Strong Backlight
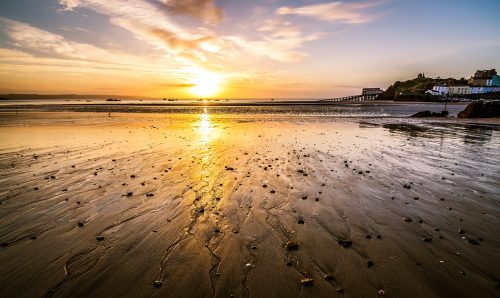
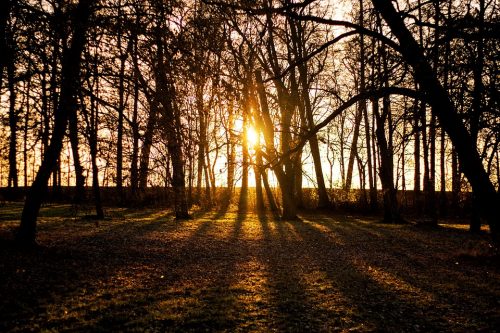
Another strategy for shooting during the harsh hour is to exploit backlight. The simple rule is to keep your subject on the line between you and the sun to minimize direct sunlight entering the lens. You’ll almost always need to overexpose from the meter reading to get good detail in your subject. When working with backlighting, there will always be some small parts of your subject that will be lit directly by the sun. To make sure you’re not overexposing important details, enable the highlight warning on your DSLR from Beachcamera.com, generally found in a setup menu. On playback on the LCD, this warning will flash “blinkies” on highlights that are blown out. Remember, though, that some loss of highlight detail may be unavoidable in backlit photos.

Work Right on Frontlight
Backlight not working for you? Try the exact opposite strategy- direct frontlight. Even at midday in summer, the sun is almost never directly overhead. Look for your shadow, and position yourself so that the shadow is pointing directly at your subject. This puts the sun precisely behind you. Now position yourself low, or level with your subject, and move in or zoom in for good framing. Watch for the perfect head angle when the subject’s face is fully lit and fire the shutter.
Wait for Shade
If the light is just too harsh for photography, try waiting for a cloud to diffuse the sunlight. No clouds? Find subjects in open shade, or wait for your subject to move into shade. Look for trees or other vegetation, a large rock, a hill, a mountain, or a building. With a subject in shade, try to include a sunlit background.

Make Your Own Shade
Shade the subject with a diffuser, a large piece of cardboard, a shirt, or even a friend’s body. This technique can work well with small subjects such as crabs, frogs, insects, spiders, and shells.
Use Flash
Most nature photographers think of using flash only as fill on cloudy days or when working in the shade. But flash can do a great job of filling in harsh shadows in bright, midday light, too. The trick is to set your flash exposure comp somewhere between 0 and +1 stops. So, the next time that you’re in the field during the midday hours on a sunny day, consider these options before giving up. You just might create some great images.


