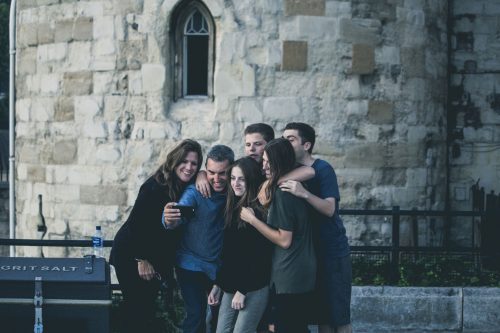
Summer is the season of family reunions, weddings and family gatherings. These events always call for photos of large groups to be taken recording the milestone or event. If you are always the designated group photographer at these events, then you know this isn’t a simple task. We’ve gathered some quick do’s and don’ts for photographing large groups.

Do’s

- Scope out the location ahead of time to find a place to shoot that will not distract from the people in the photo. A location with natural level changes like rocks or a hill works well, or have chairs or stools for level changes.
- Use a wide angle lens from Beachcamera.com making it easier to fit everyone in the shot while still allowing you to stay close enough to get more details.
- Use a tripod and a handheld remote, especially if you plan to be part of the group picture.
- Set your aperture at f8 or higher to get everyone’s faces in focus.
- Take multiple shots because with a large group, you are going to have people looking off, blinking, and kids wiggling around. It’s good to have a variety of shots to choose from.
- Make sure every face can be seen. A good rule of thumb is to tell everyone, “If you can’t see me, I can’t see you!”
- Group people according to families or couples. Make sure everyone is standing near his or her family members. If the event is centered around one or two people, place them in the center of the group.
- Shoot some close ups of individual families or smaller groups.

- Take too long posing the group. Take charge, but stay relaxed and have fun at the same time.
- Shoot heads along the line of the horizon. Shoot from below or above your group so their heads don’t have a distracting background.
- Let someone shoot over your shoulder with another camera because your subjects won’t know where to look.
- Shoot near large objects or under tree branches that will cast shadows.
- Position the sun directly behind you unless you want everyone in your group squinting for the photo.
- Wait until the end of the event to gather up your group. Some of the members of the group may not be looking their best by that point.
- Make the group too “deep”. Keep the distance between the front and back of the group as small as possible.
- Wait until the group is organized and ready to be photographed. Shoot some frames off before everyone is ready. Sometimes the organization of a group shot can be comical and lead to some great images.
- Set up your shot directly in front of a window where the light from your flash from Beachcamera.com might reflect back in a way that ruins your shot.


